If you have created an Integration, you may want to make that integration available to other users. Doing so is simple from the web app.
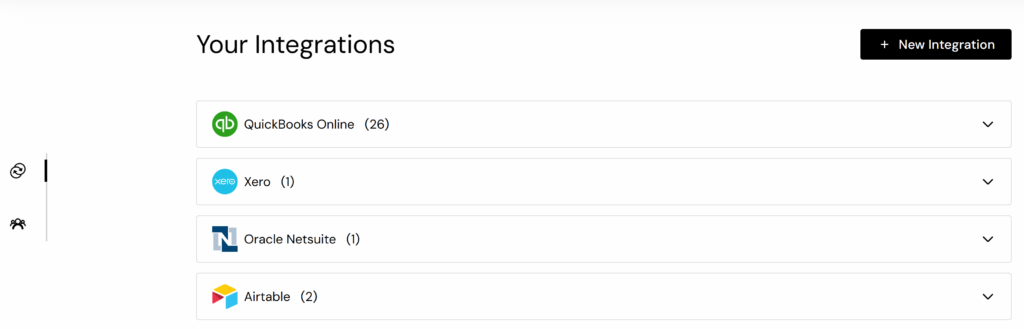
Each integration will have its own box on your homepage, looking something like this:

By clicking on the first icon to the right you will pull up the share menu:
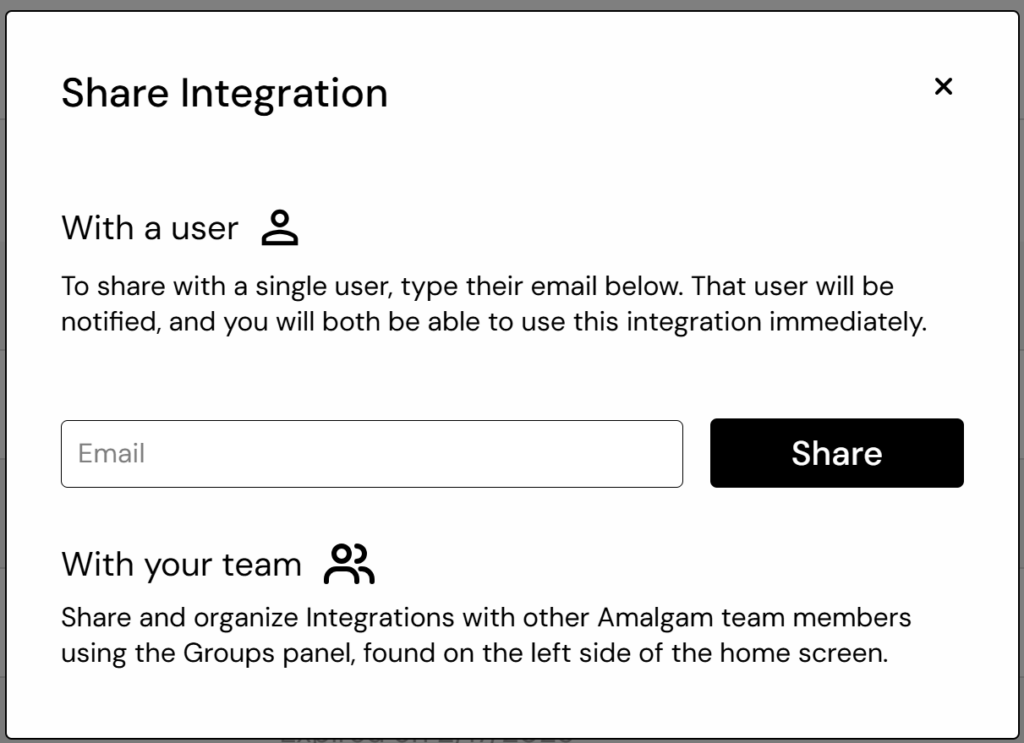
Important Note: integrations can only be shared via email if the user’s email matches the email of their Amalgam account. So, for example, if you had two different email accounts, clicking on the link would only work if the invitation was sent to the same account that the User signed up to Amalgam with.
Sharing Using Groups
Groups are a more nuanced way of sharing access for teams with more complex team management needs. For users with access to the Groups feature, a clickable sidebar will appear on the left side of the home screen.
Click on the second option to pull up the groups screen. A “group” is what it sounds like, a grouping of integrations and users that work together. An example of a group might be a client of your firm – the group will contain that client’s data sources (GL, Bank, Payroll, Payments, etc.) and the users on your team who work on that client.
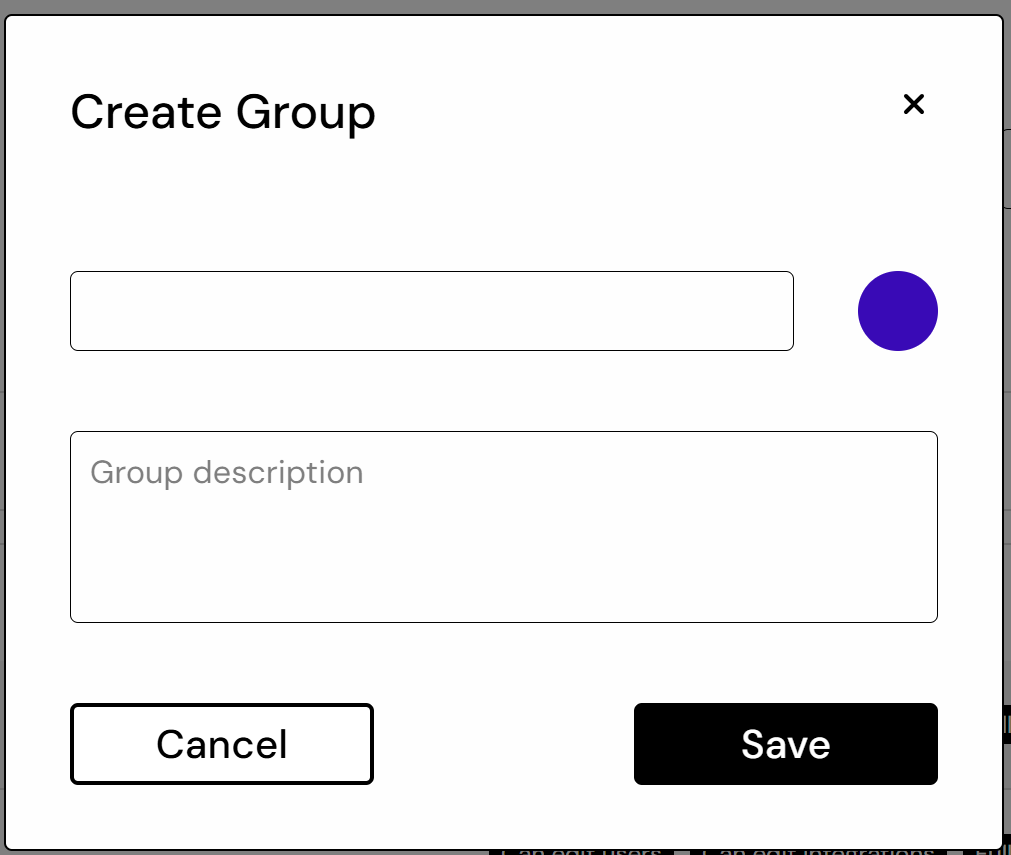
Creating a group requires only that the group get a name. Once created, you can add integrations and users to the group. Each user in the group will have access to all of the integrations in the group, based on the permissions level defined.

To edit a user’s permissions, click on the “lock” icon next to their name. You can define a permissions level for the integrations inside the group (e.g. read-only), and define whether they have permission to edit elements of the group itself.